Capturing a Single Sprite
Your First Sprite got you through the core loop in a minute. This page is the same loop with the lid off: everything the Quick Export panel on the Basic tab can do, in full. You'll still export one prefab to one (or a few) images — but with deliberate control over resolution, file format, output folder, and a fast multi-angle option.
Prerequisites
A prefab loaded into the live preview. If the Quick Export controls look greyed out, that's expected — they stay disabled until Snap has something to capture. Drop a prefab on the Drag & Drop Prefab Here zone first.
The Quick Export panel
Quick Export lives on the Basic tab and reads:
Export the current prefab at a chosen resolution, file format, and optional multi-angle capture.
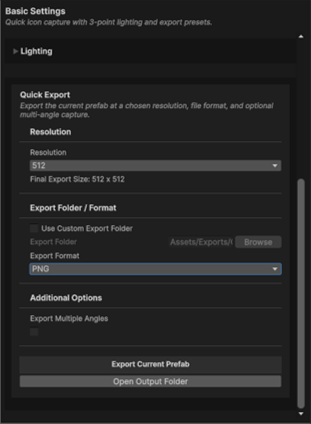
It's split into four groups, top to bottom: Resolution, Export Folder / Format, Additional Options, and the export button. We'll take them in order.
1. Resolution
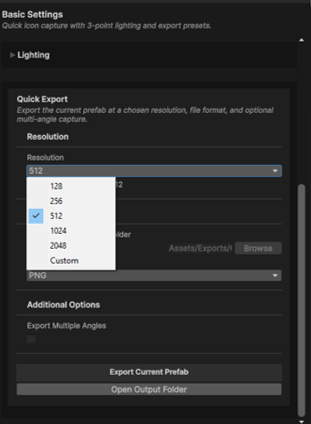
The Resolution popup picks your target output width in pixels:
128 · 256 · 512 (default) · 1024 · 2048 · Custom
Choose Custom and a Custom Width field appears, accepting any width from 16 up to 8192 px. Height isn't something you set here — it follows the capture's aspect ratio automatically.
Watch the Final Export Size readout
Directly under the resolution controls, the Final Export Size line shows the exact pixel dimensions you'll get, e.g. Final Export Size: 512 x 512. It updates live as you change the width or the aspect ratio, so you always know the real output before you commit.
The output shape (square, 16:9, portrait, and so on) is set separately in the framing controls — see Framing & Camera. Resolution here only drives the width; framing decides the ratio the height is derived from.
2. Format
Under Export Folder / Format, the Export Format popup chooses the file type. Snap supports four:
| Format | Transparency | Best for |
|---|---|---|
| PNG (default) | ✅ | Sprites, UI icons — the right choice for most work |
| TGA | ✅ | Pipelines that prefer TGA |
| EXR | ✅ | HDR / high-precision output |
| JPG | ❌ | Opaque images where file size matters |
Three of the four keep an alpha channel; JPG is the only one that can't hold transparency. If you're after a cut-out sprite, stay on PNG (or TGA/EXR) — pick JPG only when you specifically want a smaller, opaque image.
Transparency needs a transparent background too
Choosing an alpha-capable format is necessary but not sufficient. The capture only has transparency if the background is transparent — a solid or gradient background gets baked into the image. Set that up in Backgrounds & Styling. On URP, Snap also warns you if the pipeline is about to strip the alpha.
3. Export folder
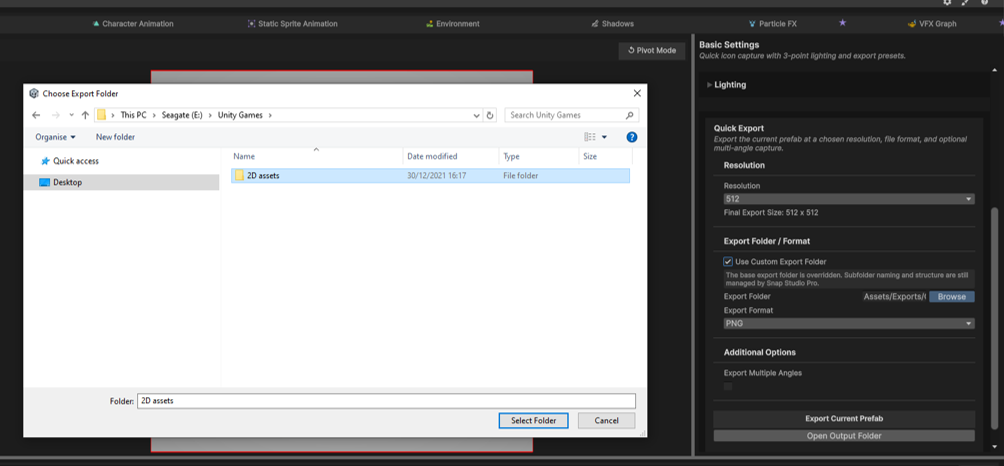
By default, Snap writes to its saved Quick Export folder. To choose your own, tick Use Custom Export Folder. The Export Folder field unlocks and you can either type a path or click Browse.
The folder must live inside your project's Assets/ folder
Unity can only import assets under Assets/. If you point the export outside it, Snap blocks the choice and shows a reminder — pick a folder inside Assets/ so the capture comes back as a usable Sprite. Snap remembers your custom folder across sessions.
Untick Use Custom Export Folder and Snap falls back to the saved default, discarding any unsaved edits to the path field.
4. Multiple angles (optional)
Under Additional Options, tick Export Multiple Angles to capture the prefab from 0°, 90°, 180°, and 270° in a single export instead of just the one angle you're looking at. Each angle is written as its own file.
This is the fast, no-fuss path to a four-way set — handy for a quick top-down character or a rotating prop. When you need real directional control (8- or 16-way sets, custom angle counts, naming), use the dedicated Directional Capture workflow instead.
Leave it off for a single sprite
With Export Multiple Angles unticked, Snap captures exactly the angle in the preview — the rotation you've dialled in is baked into that one image. See Framing & Camera for how to set that angle.
5. Export
Click Export Current Prefab. A progress bar (Exporting…) runs while Snap captures — a single frame for one angle, or four passes if multi-angle is on — then refreshes the Asset Database so your files come back already imported as Unity Sprites, ready for a SpriteRenderer or a UI Image.
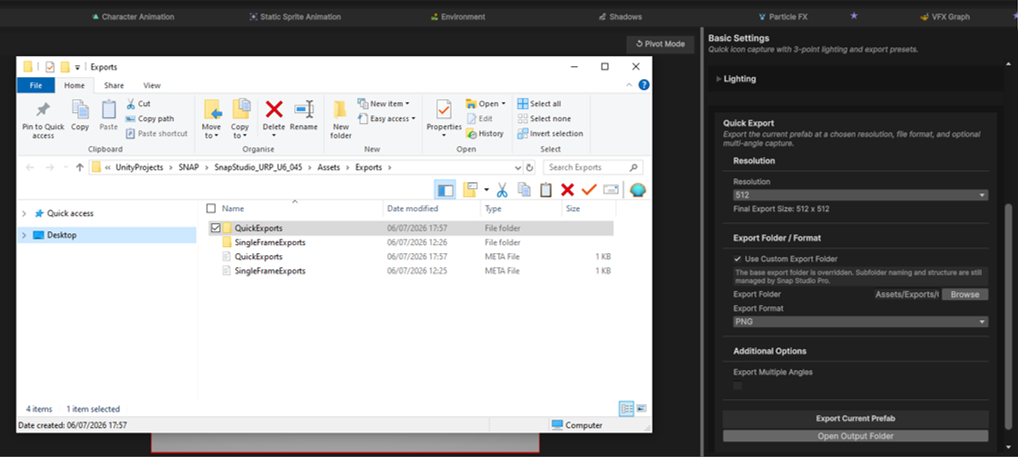
Use Open Export Folder (just below the export button) to jump straight to the results in your file browser.
Troubleshooting
The Quick Export controls are greyed out
No prefab is loaded. Drop one on the Drag & Drop Prefab Here zone and the panel lights up.
Browse won't accept my folder
You chose a folder outside Assets/. Snap blocks it and asks for one inside your project's Assets/ folder — pick again from there.
My PNG came out with a solid background
An alpha-capable format alone won't give you transparency; the background itself has to be transparent. Set it in Backgrounds & Styling.
The export produced nothing / an unusable file
The usual cause is an export folder outside Assets/, or an empty folder path. Set a valid folder inside Assets/ and re-export.
Next steps
You've got the single-sprite path in full. From here:
- Getting the shape and angle right? Framing & Camera covers auto-fit, rotation, recentring, and aspect presets.
- Need transparency or a styled backdrop? Backgrounds & Styling.
- Want to change how it's lit? Lighting & Studio Presets.
- Need engine-ready output, not loose files? Game-Ready Output bundles sprites with an AnimatorController, clips, and a prefab.