Framing & Camera
Snap frames your prefab for you the moment you drop it in — bounds-aware, lit, centred, ready. Most of the time that's all you need. This page is for the times it isn't: choosing the angle, recentring the model, taking the camera off auto-pilot, and setting the output shape. Nothing here is required for a good capture; it's the depth underneath the auto-framing.
Prerequisites
A prefab loaded in the preview. The framing and camera controls stay disabled until Snap has something to frame — drop a prefab first. If you haven't captured anything yet, do Your First Sprite before this page.
Auto-framing (what you get for free)
Drop a prefab and Snap fits the camera to the model's rendered bounds automatically, with a little padding so nothing touches the edges. It walks every Renderer in the prefab, encapsulates them into one combined bounds, and sizes the view to contain it. You don't press anything — it just happens on load, and again whenever you reset.
Because the fit is bounds-aware rather than a fixed distance, big models and tiny models both land nicely framed. When you rotate the prefab past the fitted bounds and it clips the edge, that's the cue to reframe — the reset buttons below do it in one click.
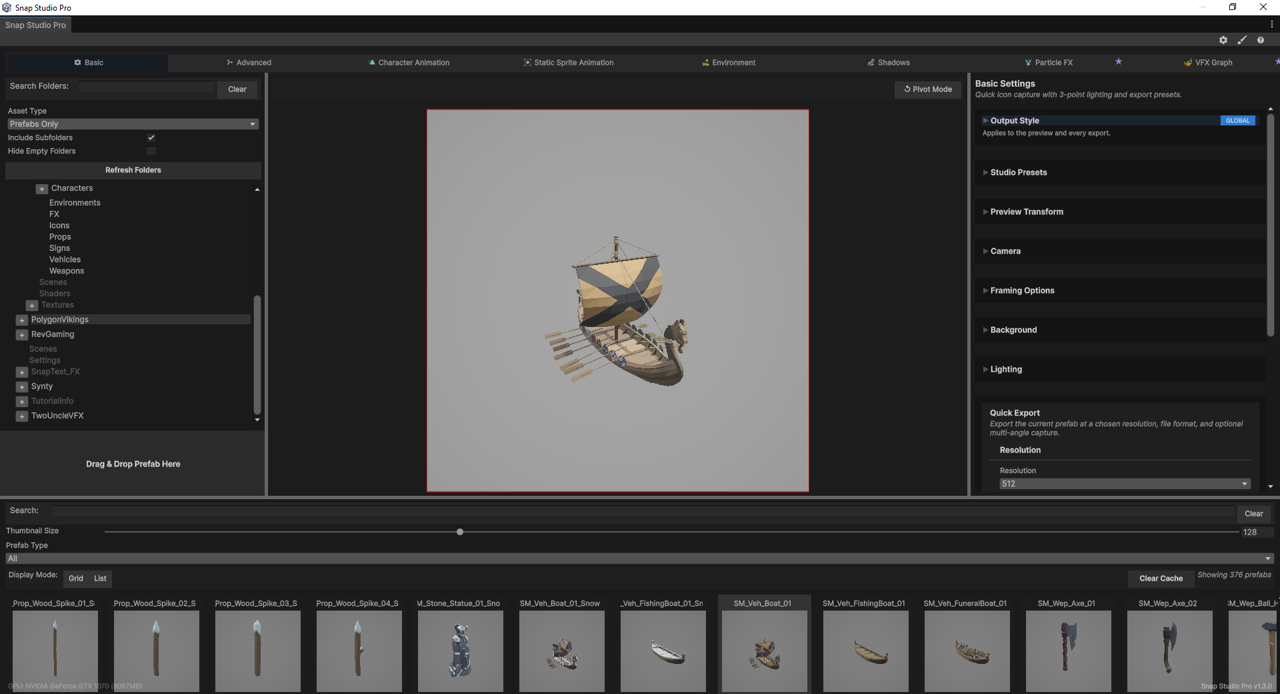
Rotating the prefab
The angle you see is the angle you export — prefab rotation is baked into the capture. Set it in the preview with the mouse:
| Action | What it does | Affects export? |
|---|---|---|
| Left-Drag | Rotate the prefab | ✅ Yes |
| Shift/Alt + Left-Drag | Orbit the preview camera | ❌ No — visual only |
The distinction matters: rotating the prefab changes your output; orbiting the camera is just a look-around that never reaches the file. The Preview Transform foldout spells this out in an info box, so you're never guessing which drag is which.
Rotation Speed
Under Preview Transform, the Rotation Speed slider (0–2) sets how fast the prefab turns as you drag. Turn it down for fine angle-picking, up for quick spins.
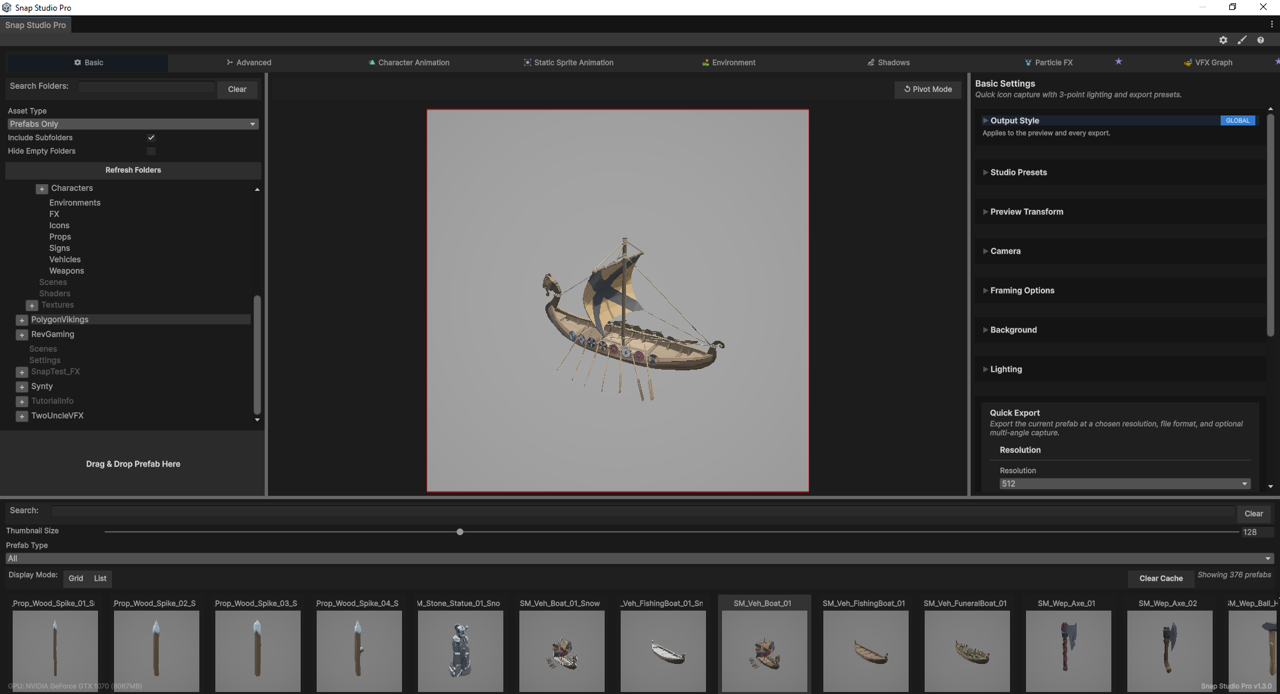
What actually turns: the model or the camera?
Snap picks per workflow, on purpose. For a single shot you turn the prefab — you're posing the asset, and that pose bakes into the capture. For a directional set (multi-angle / turntable export) Snap does the opposite: it leaves the prefab planted and orbits the camera around it.
Why the flip? For one bare model the two are the same picture. They only differ once something is anchored to the world rather than the model — a ground shadow, a world-space particle that falls down, the lights, and the framing pivot itself. Keeping the subject still and moving the viewpoint holds all of that steady, so every frame in the set stays consistent; spinning the model instead would drag the shadow and the effects around with it. Elevation (pitch) is always camera-side in both modes. Short version: single = pose the object, directional = orbit the view.
Recentring & resetting
Three "put it back" controls, across two panels — they do different things:
- Reset to Hero Angle — in the Camera foldout. Re-fits the camera at Snap's default 3/4 preview angle and clears any prefab rotation, recentring the model in frame. This is the one to reach for when a rotation has pushed the model off-centre or out of the fitted bounds and you want the look Snap ships with.
- Reset to Zero Angle — beside it in the Camera foldout. Same re-fit and rotation clear, but framed dead-on at zero pitch and yaw — the neutral starting point for front elevations, icons, or a pipeline that expects a straight-on capture. For a standard
+Z-forward prefab that lands on the front; the button promises the angle, not the face, so if it shows the back just left-drag round. - Reset Transform — in the Preview Transform foldout. Clears any position, rotation, and scale you've applied to the prefab itself, returning it to origin, zero rotation, unit scale.
Use the two Camera buttons to reframe the shot; use Reset Transform to undo edits you made to the model's own transform.
Manual camera control
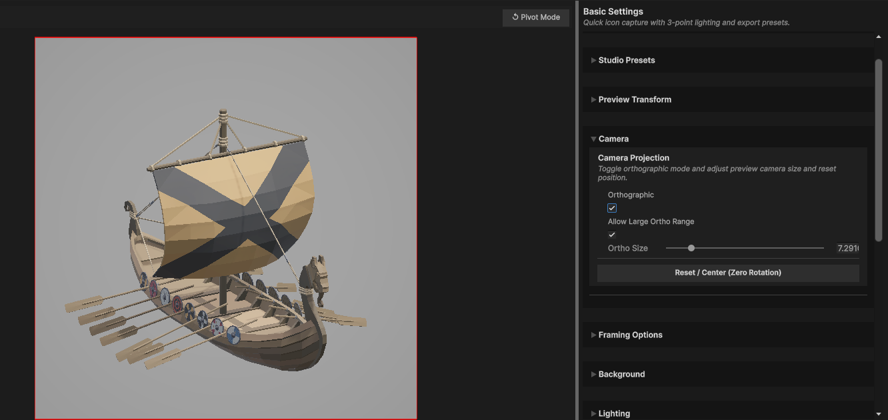
Open the Camera foldout (Camera Projection — "Toggle orthographic mode and adjust preview camera size and reset position") for direct control:
- Orthographic — toggle orthographic projection on or off. Turning it on re-fits the ortho view to the prefab's bounds; turning it off re-fits the perspective camera. Orthographic is the usual choice for clean 2D sprite work, since it removes perspective distortion.
- Ortho Size — a slider plus numeric field controlling the orthographic view size. Smaller zooms in, larger zooms out. The background rescales with it so you don't get a seam around the edges.
- Allow Large Ortho Range — by default the Ortho Size slider tops out at
10. Tick this to extend the range up to50for very large scenes or models.
Aspect ratio (output shape)
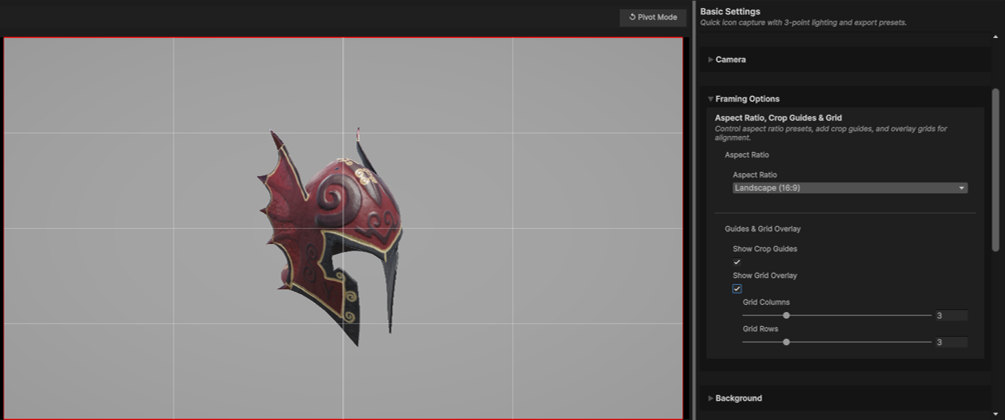
The camera decides how the model sits in view; the aspect ratio decides the shape of the file that comes out. On the Basic tab, open Framing Options and use the Aspect Ratio popup:
| Option | Shape |
|---|---|
| Fill (no fixed ratio) | No ratio enforced — takes the preview's shape |
| Square (1:1) (default) | Equal width and height |
| Landscape (16:9) | Wide 16:9 frame |
| Landscape (4:3) | 4:3 frame |
| Portrait (9:16) | Tall 9:16 frame |
The chosen ratio feeds the Final Export Size readout in Quick Export — set the width there, and the aspect ratio here derives the height. See Capturing a Single Sprite for the export side.
Need an arbitrary ratio? That's an Advanced feature
The Basic tab exposes the common presets on purpose. Fully custom aspect ratios — any width-to-height you like — are a power feature and live on the Advanced tab's aspect controls, alongside crop guides and grid overlays for composition. The keys are there when you want them; Basic just keeps the common cases one click away.
Troubleshooting
My model is cut off at the edges
A rotation pushed it past the fitted bounds. Click Reset to Hero Angle (or Reset to Zero Angle) in the Camera foldout to re-fit, or rotate back to a tighter angle.
I rotated the camera but the export didn't change
That's by design — Shift/Alt + Left-Drag orbits the camera, which is preview-only. To change the exported angle, use Left-Drag to rotate the prefab.
The Ortho Size slider won't go high enough
Tick Allow Large Ortho Range in the Camera foldout to lift the cap from 10 to 50.
My sprite came out the wrong shape
Check the Aspect Ratio in Framing Options. It sets the output shape; the width comes from Quick Export's Resolution.
Next steps
- Ready to export? Capturing a Single Sprite covers resolution, format, and output folders in full.
- Changing the look? Lighting & Studio Presets and Backgrounds & Styling.
- Making a directional set? Directional Capture turns a single framed model into 4/8/16-way sprites.
- Want your framing to persist across captures? Preferences covers the global defaults that sit outside a single shot.