Tour of the Window
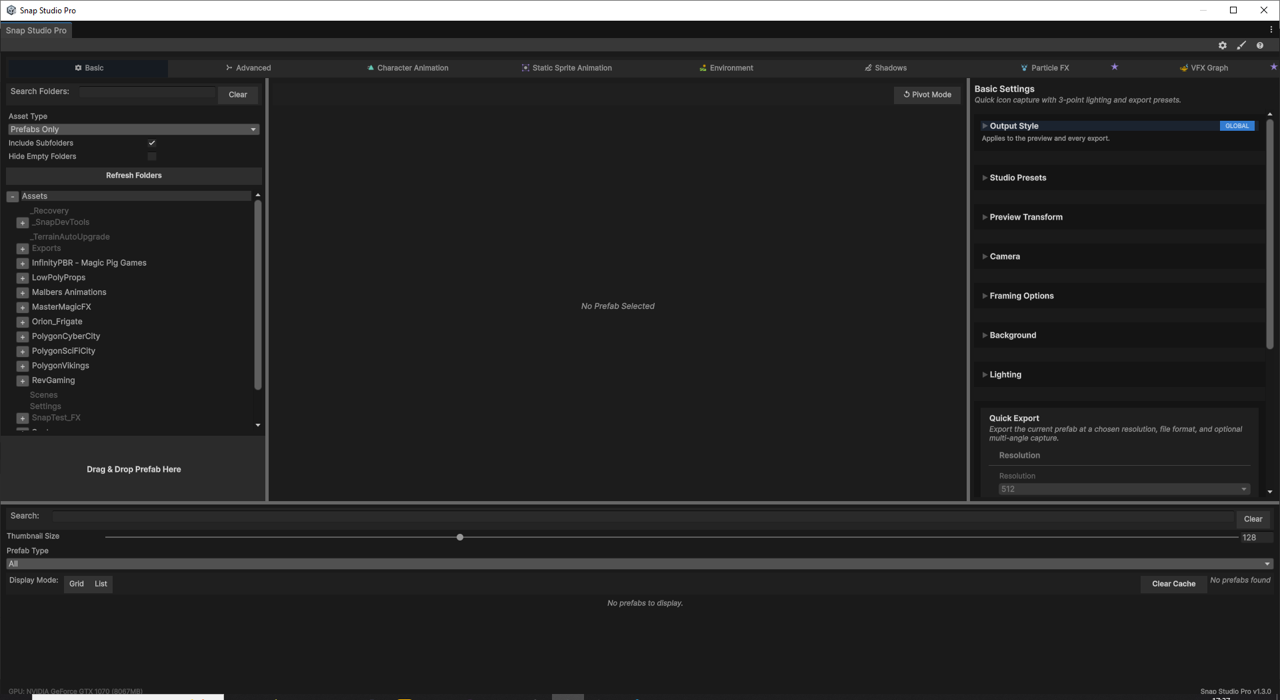
Snap Studio Pro is one window with a live 3D preview and a row of tabs across the top. Each tab is a self-contained workflow. This page is the map: what each tab is for, where the preview controls live, and how to keep the interface simple until you actually need its depth.
You don't need most of this on day one
The window opens on the Basic tab, and Basic is enough to load a prefab and export a sprite. Treat the rest of the tab bar as rooms you walk into when a job calls for them — not a checklist. If you just want a first result, go straight to Your First Sprite.
The layout
Every tab shares the same frame:
- A tab bar along the top — the eight workflows, described below.
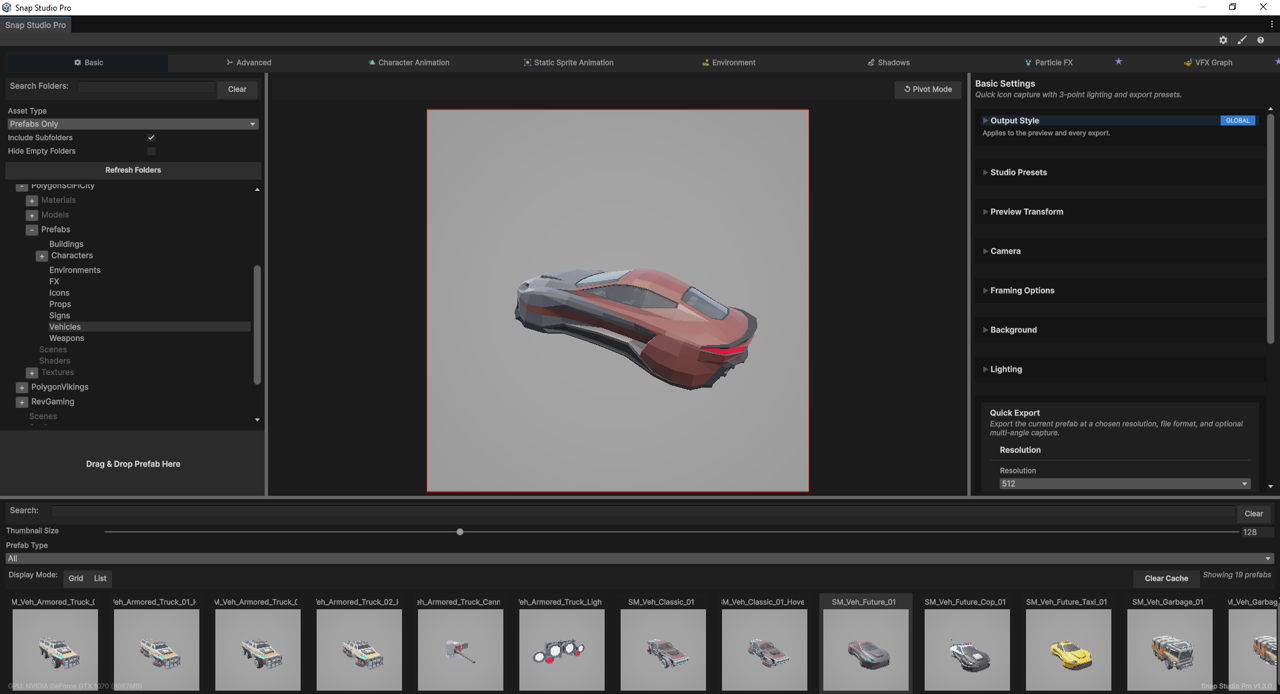
- A live preview in the middle — your prefab, rendered exactly as it'll be captured.
- Panels on the side — the controls for whichever tab you're on.
The tab bar, as a map
The tabs run left to right in this order. Each is a full workflow — pick the one that matches your goal.
| Tab | Use it when you want to… |
|---|---|
| Basic | Load a prefab and export a single sprite — the everyday capture. → Capturing a Single Sprite |
| Advanced | Reach for deeper capture controls — framing overrides, extra options — beyond the Basic essentials. |
| Static Sprite Animation | Capture a static prefab from every angle — directional sprites or a turntable, as frames or a sprite sheet. → Animation Export · Directional Capture |
| Character Animation | Turn animation clips into frame sequences, spritesheets, or GIFs. → Animation Export · Directional Capture |
| Environment | Extract and capture environment and prop scenes. → Environment Extraction |
| Shadows | Add a grounded contact shadow under the capture, or export the shadow on its own. → Shadows |
| Particle FX ★ | Bake a particle system down to sprite frames. → Particle FX Baking |
| VFX Graph ★ | Export a Visual Effect Graph to sprite frames. → VFX Graph Export |
The ★ tabs are Expert features, not hidden ones
Particle FX and VFX Graph carry a small purple star. They're finished and always available — the star just flags that baking lossy 3D effects down to 2D takes some know-how. Nothing is locked away; the marker is an honest heads-up that you're in the deep end.

The live preview
The centre of the window is a live render of your prefab — the same view that gets captured. To choose the angle:
- Left-drag anywhere in the preview to rotate the prefab.
Whatever you rotate to is exactly what gets exported. The preview is honest: lighting, background, and framing all update live, so what you see is what you capture.
Progressive disclosure: start simple
The tab bar is ordered on purpose. Basic covers the common case; everything deeper sits further right, and the two Expert tabs are starred. You're never gated out of any of it — but you're never forced into it either.
A sensible path:
- Start on Basic. Load, frame, export.
- Open Advanced when a capture needs finer control than Basic gives.
- Step into a workflow tab — Static Sprite Animation, Character Animation, Environment, Shadows, Particle FX, VFX Graph — when that's the job.
Global defaults live in Preferences, not in the tabs
Settings that apply across your whole session — hotkeys, behaviour toggles, default sizing — live in Preferences, reached from the gear icon in the window header. Keeping them out of the workflow tabs is deliberate: the tabs stay about the capture in front of you. See Preferences for the full list.
Next steps
Now that you know the map, pick a destination:
- First time here? Your First Sprite runs the core loop end to end on the Basic tab.
- Ready for the Basic tab in depth? Capturing a Single Sprite covers every control it exposes.
- Making a character? Directional Capture and Animation Export live on the animation tabs.
- Setting global behaviour? Preferences is where the session-wide defaults are.