Your First Sprite
This is the one-minute version of Snap Studio Pro: take any prefab and turn it into a clean, transparent PNG sprite. No settings to learn first — load, frame, export. Once you've done it once, every other workflow in the User Guide is a variation on these same steps.
Prerequisites
Snap Studio Pro imported into a Unity 6+ project. If you haven't done that yet, see Installation & Compatibility. Any prefab will do — a character, a prop, a weapon, an item. If you don't have one handy, drag any model from your scene into the Project window to make a prefab.
1. Open the window
From the Unity menu bar:
Tools → Rev Gaming → Snap Studio Pro
The window opens on the Basic tab. That's the only tab you need today — everything here happens on it.
2. Load a prefab
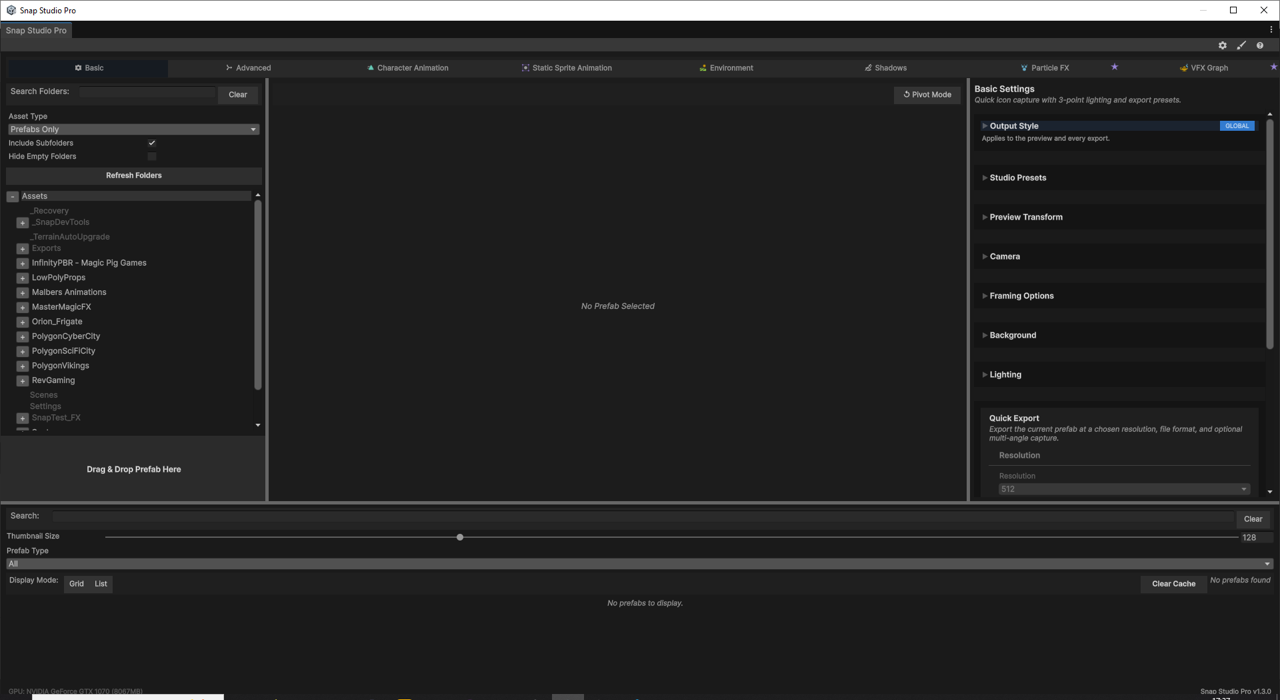
Find the Drag & Drop Prefab Here zone and drag a prefab onto it from your Project window. The prefab appears in the live preview straight away, framed and lit for you automatically.
The export panel is greyed out until a prefab is loaded
The Quick Export controls stay disabled until Snap has something to capture. If they look inactive, that's why — drop a prefab first and they light up.
3. Frame it
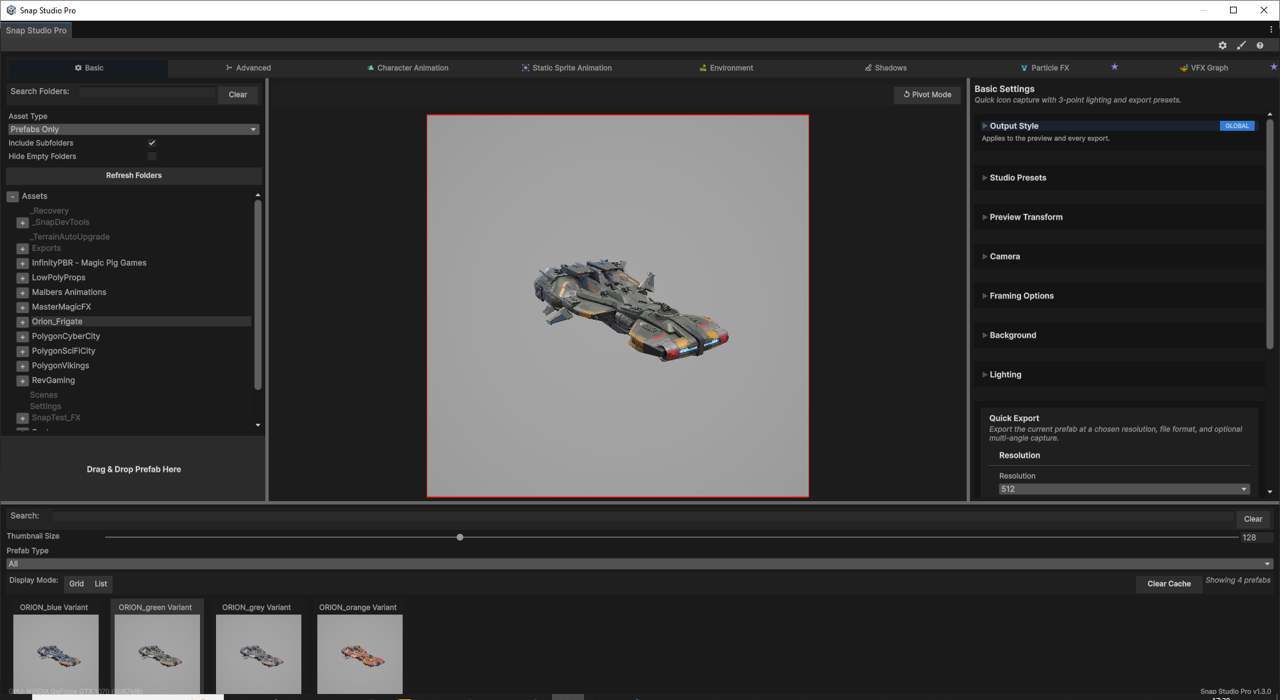
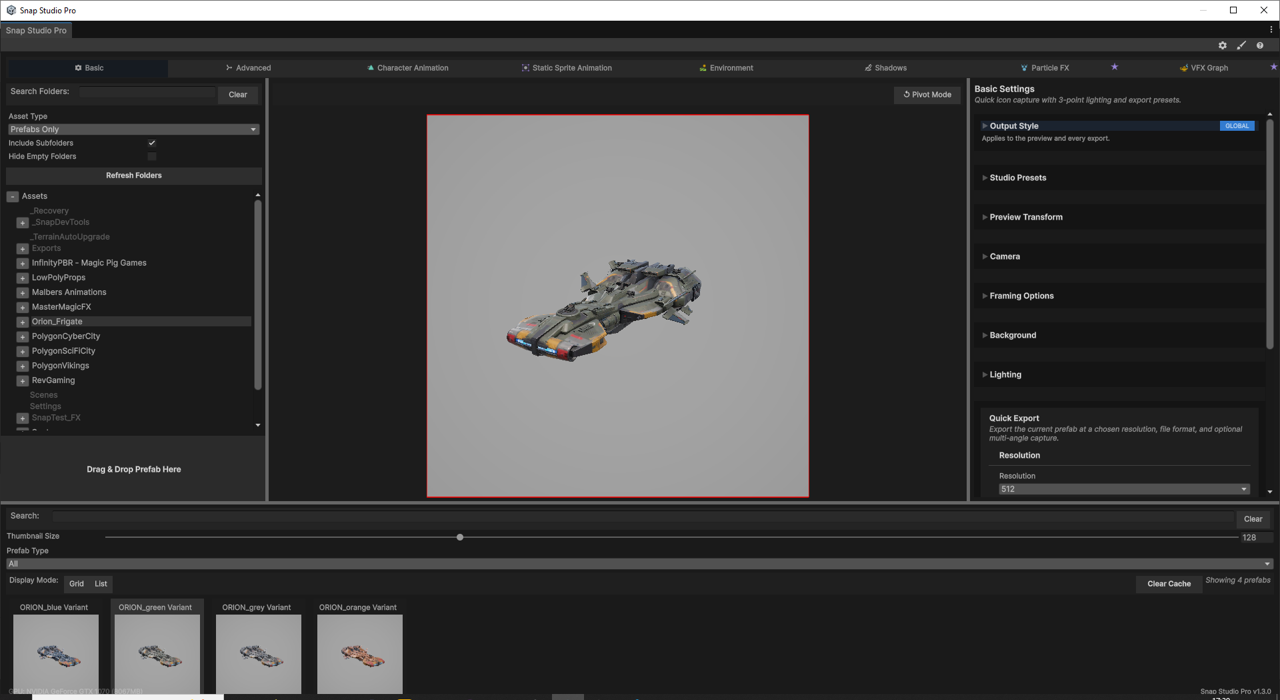
Snap auto-frames the prefab (bounds-aware camera fit) and applies studio lighting, so it already looks presentable. To choose the angle:
- Left-drag anywhere in the preview to rotate the prefab.
Whatever you rotate to is exactly what gets exported — the rotation is baked into the sprite. Line it up the way you want the final 2D image to look.
That's all you need for now
Manual camera control, custom lighting rigs, and framing overrides all exist, but you don't need them for a good result. When you want them, see Framing & Camera and Lighting & Studio Presets.
4. Choose a resolution and format
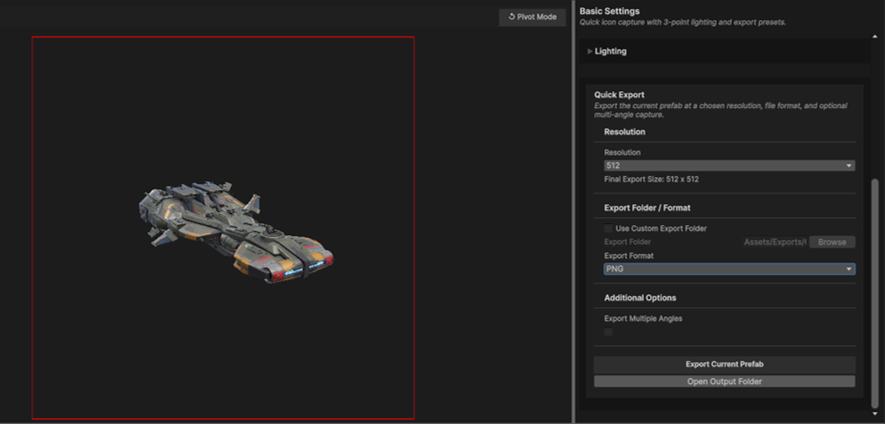
In the Quick Export section:
Resolution — pick a target output width: 128, 256, 512 (the default), 1024, 2048, or Custom (any width from 16 up to 8192 px). Height follows the capture's aspect ratio automatically, and the Final Export Size line underneath shows the exact pixel dimensions you'll get.
Format — under Export Folder / Format, choose a file format:
| Format | Transparency | Best for |
|---|---|---|
| PNG (default) | ✅ | Sprites, UI icons — the right choice for most work |
| TGA | ✅ | Pipelines that prefer TGA |
| EXR | ✅ | HDR / high-precision output |
| JPG | ❌ | Opaque images where file size matters |
Stick with PNG for a transparent sprite unless you have a reason not to.
5. Choose where it goes
By default, Snap exports to a preset output folder. To pick your own, tick Use Custom Export Folder and either type a path or hit Browse.
The export folder must be inside your project's Assets/ folder
Unity can only import assets that live under Assets/. If you point the export outside it, the capture won't be imported as a usable Sprite. Snap shows this reminder when a custom folder is active.
6. Export
Click Export Current Prefab.
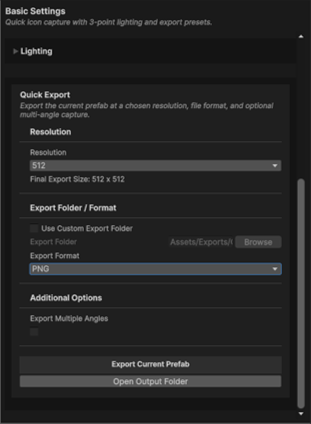
A progress bar runs while Snap captures, and your sprite lands in the folder you chose — already imported as a Unity Sprite, ready to drop into a scene, a UI Image, or a SpriteRenderer. Use the Open Export Folder button to jump straight to it.
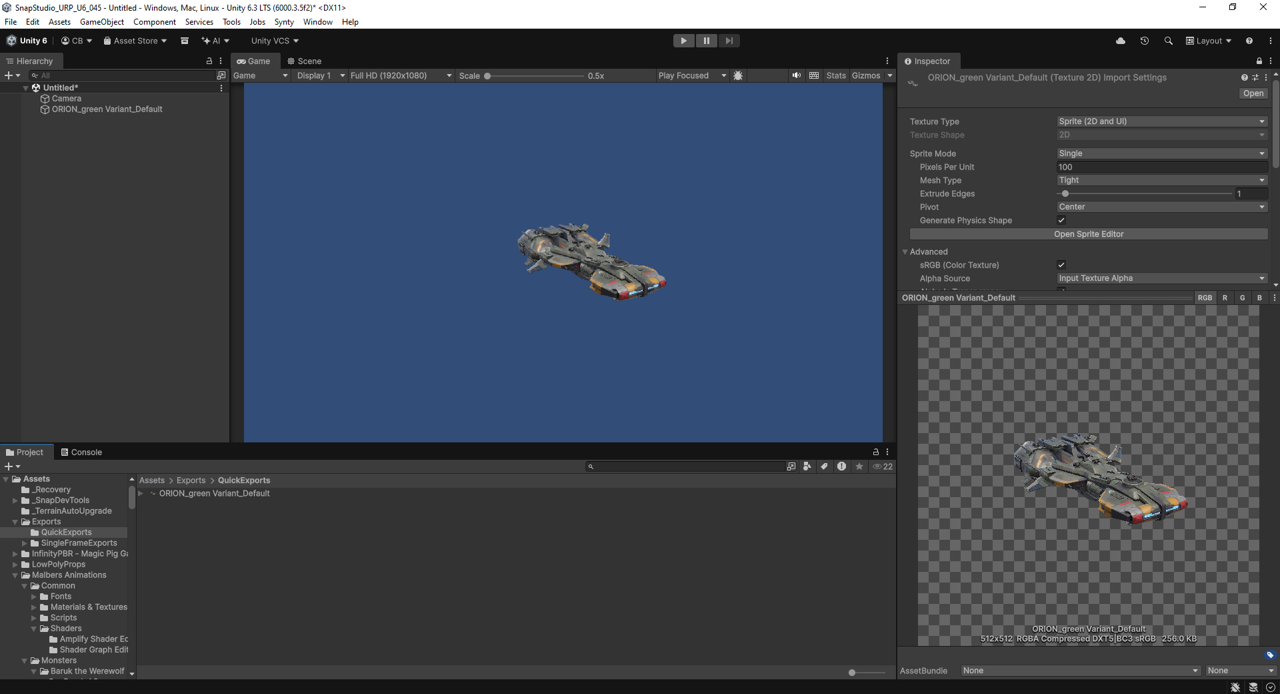
That's a complete first export. 🎉
Troubleshooting
The Quick Export controls are greyed out
No prefab is loaded. Drag one onto the drop zone (step 2).
My sprite is cut off or off-centre
You rotated to an angle where the prefab extends past the auto-framed bounds. Rotate back, or adjust the framing — see Framing & Camera.
My PNG has no transparency / the background is solid
A solid or gradient background gets baked into the capture. For a transparent sprite you want a transparent background; see Backgrounds & Styling. On URP, transparency also depends on your capture setup — Snap warns you if the pipeline is about to strip the alpha.
The export didn't produce a usable asset
The most common cause is an export folder outside Assets/ (step 5). Move it inside and re-export.
Next steps
You've done the core loop. From here, reach for the workflow that matches your goal:
- Need it engine-ready, not loose PNGs? Game-Ready Output gives you sprites plus an AnimatorController, clips, and a drop-in prefab.
- Making a character? Directional Capture exports 4/8/16-direction sprite sets. Or tick Export Multiple Angles in Quick Export for a fast 4-way (0°, 90°, 180°, 270°) capture.
- Animating? Animation Export turns clips into frame sequences, spritesheets, or GIFs.
- Want more control over one capture? Capturing a Single Sprite covers the Basic tab in full depth.